If you do not get a significant amount of enjoyment from consuming video content it may be due to that medium not being suited for your tastes. But since there is a HUGE quantity of quality content available for a wide variety of tastes, it is more likely you haven't been doing it right. If finding good content is a problem for you see the article 50 TV Shows You Really Should Watch. Our panel of experts spent hundreds of hours exploring the deep recesses of television shows available on cable and dish TV, streaming internet sites such as Netflix and Amazon, and on DVD or Blu-Ray discs. We returned with this list of the best of the somewhat lesser-known television programs released in recent years.
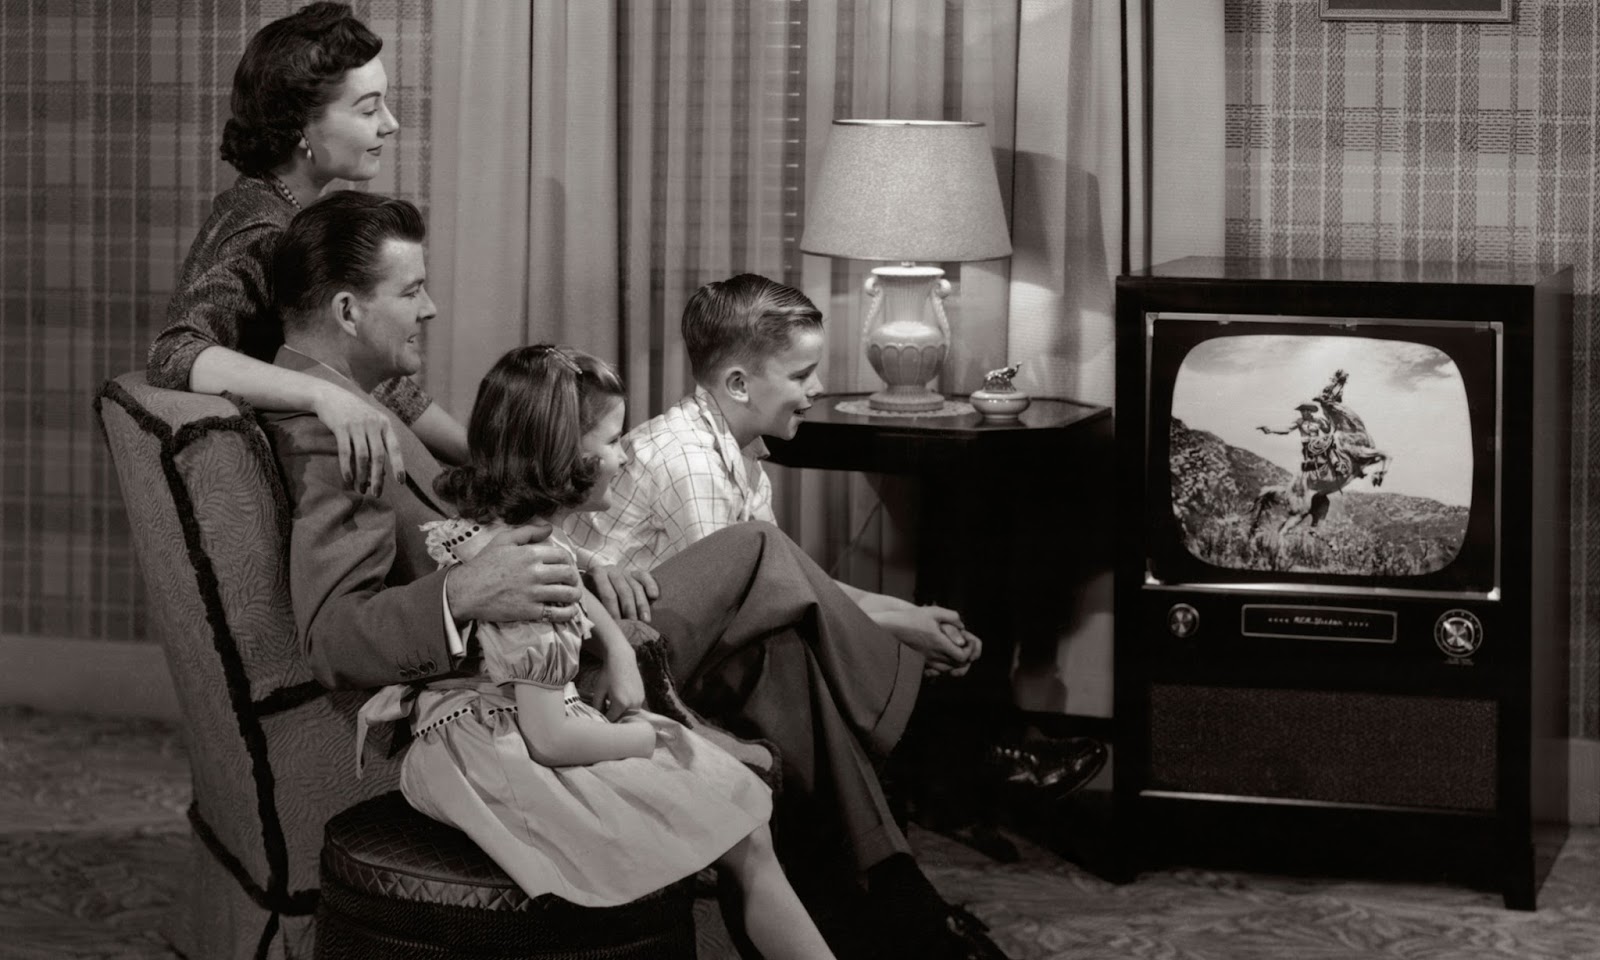
Watching TV on an old, small, black and white TV is not nearly the same experience as watching a large screen HD TV with a good sound system in a darkened room. That is why we pay big bucks to see a movie in a theater. The black and white TV may be fine for watching a game show, but fully perceiving and appreciating the artistry of the most skilled creators of high quality content is much easier when your playback system and environment are optimized to allow you to appreciate the finer details of the material. It is impossible to appreciate the quality of the lighting, the intelligent choices of lenses and filters, the set design, the costumes and the fine details of the color pallette of a high quality movie when watching a black and white TV while washing the dishes. On a low quality reproduction system, it is often impossible to perceive and appreciate the differences between mediorcre works and masterpeices.
I believe this photo came from Crutchfield.
Yes, it takes money to acquire a good video system, but with a little knowledge you can optimize the quality of the equipment you already own and select the best products for your budget.
Format matters The format of your content matters. For best results, choose the best format.
Hierarchy of recorded media, from worst to best:
VHS tapes
Standard Definition cable & satellite TV
DVDs
High Definition cable & satellite TV (the quality varies depending on the service provider and the particular channel)
Streaming video (the quality varies depending on the speed of your internet connection)
High Definition Broadcast TV
Blu-Ray discs
4K and/or UHD streaming and satellite
Audio is more important than you think it is
These days, a lot more people listen to the radio than watch silent movies. That fact suggests that audio is the most important element in TV watching for most people. Improving your sound is one of the most cost effective ways to enhance your television viewing experience.
Connect your TV to your sound system.The speakers built into most TV sets are not high quality and tend to be especially lacking in the lower frequencies. Also, the speakers are not located in the best place. Newer TVs have an audio output that can be connected to your audio system. Use it if you can.
Speaker placement is especially important with a video system so that sounds are located in space in a way that corresponds to what is seen on screen. For example, if someone enters a room from the right side of the screen, you want to hear their footsteps coming primarilly from the speaker on your right.
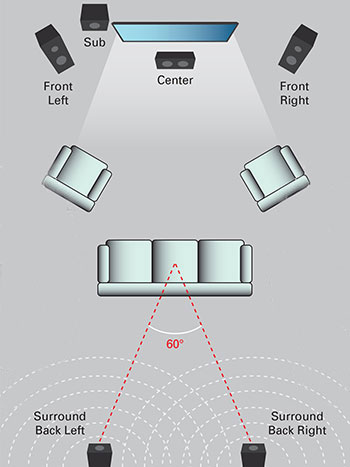
MTX Audio created this illustration of proper placement of audio and video equipment. This is a 5.1 surround sound system. Note that with a (two channel) stereo system your stereo speakers should be placed in the front left and right positions.
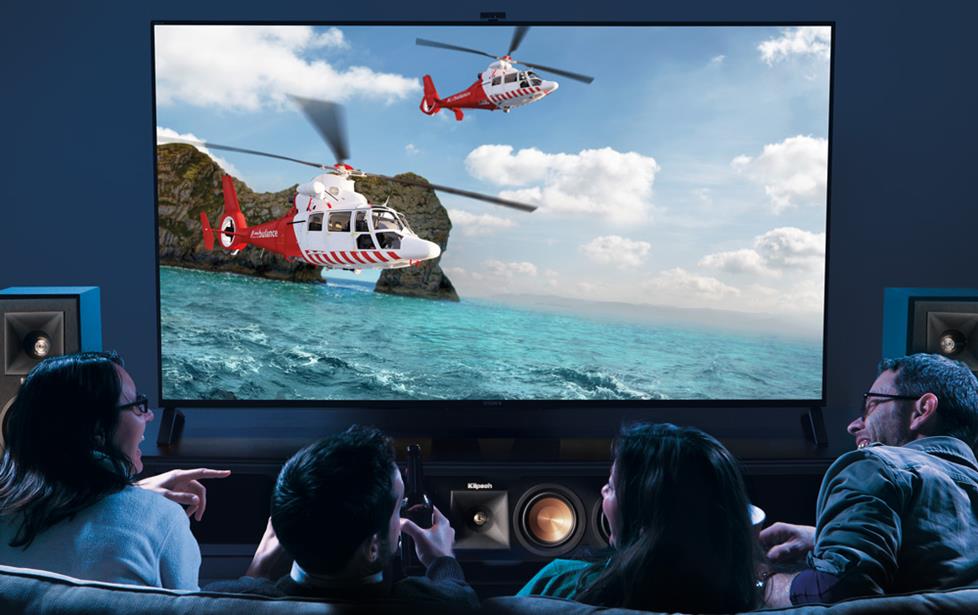
Surround sound adds a lot of fun of to the listening and viewing experience because it can more accurately reproduce the sounds of a particular environment and/or allow creators to place a sound to the left or right, front and back and anywhere in between. They can even make a particular sound move around you. This ability can add a lot of excitement the viewing experience. A classic example is when visuals of helicopters or bullets flying overhead on the screen are matched with the sound of the flying object appearing to move from the frount to the back of the room.
Remove noise sources near your viewing area. These may include fans, heaters, air conditioning, open windows and computers.
Watch in a darkened room. Especially for watching dramas and adventure stories, watching in a dark room removes distractions and improves the picture quality. You'll probably need to adjust your set if you change the amount of light in the room.
Watch for reflections on the screen. Move the TV or move objects such as lamps that reflect light onto the screen. TV screens seem to attract dust. Cleaning the screen periodically makes the picture brighter and clearer.
Clean your eye glasses. You'll notice the difference.
Angle the screen. This is especially important with LCD screens. Move around your TV set while watching the screen. You will see that the picture looks better or worse depending on your angle, with the picture looking best when you are directly in front of it. You want to aim the screen directly towards your eyes. If the screen is located above or below your head, tilt the screen so it is aimed directly towards your eyes.
Do Adjust your set
Any television can be made to look better by adjusting the picture. It can be done in less than two minutes once you learn how.
Be aware of a significant challenge to adjusting your television. For artistic reasons, many TV programs and movies now use what I call "subjective color schemes." Instead of simply adjusting the image's color for maximum realism or visual impact, they now use color to communicate moods, time periods, places and characters' state of mind. An over-used and extremely cliched example is the use of mostly yellow and orange colors to represent a scene taking place outdoors in Mexico.

I've been to Mexico. It is not actually as yellow as often shown in programs like Breaking Bad. You do not want to adjust the look of your TV during a scene that has an unrealistic or unusual look like this one.
I call this to your attention because you do not want to eliminate these subjective color schemes by adjusting your television. To avoid doing this, try to adjust your TV during a scene with a realistic color scheme and adjust it to appear as natural as possible. The most reliable scenes are usually daytime exterior shots with a clear blue sky because we are very familair with the color of skin tones, plants and the sky in that type of light.
Here's how to do it:
1. Adjust the Brightness
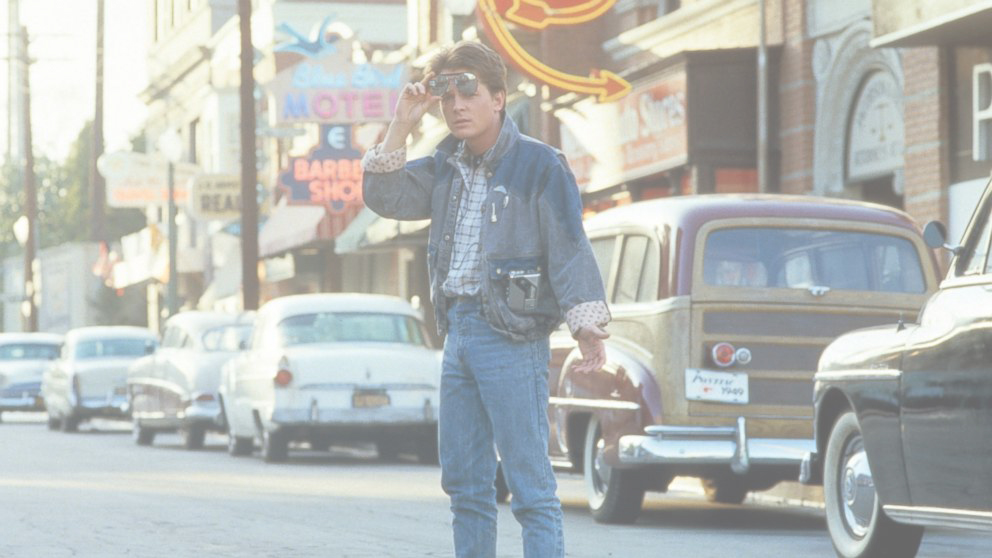

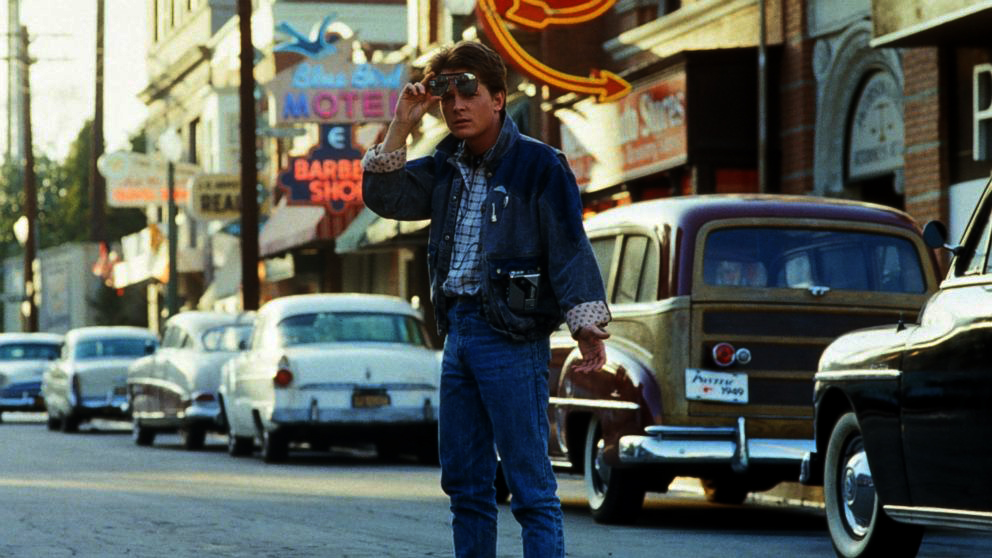
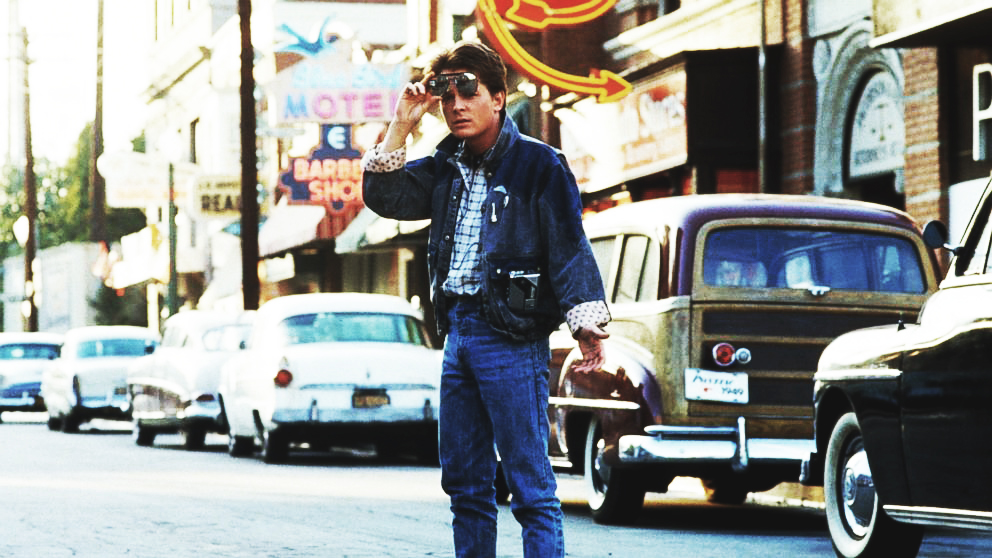
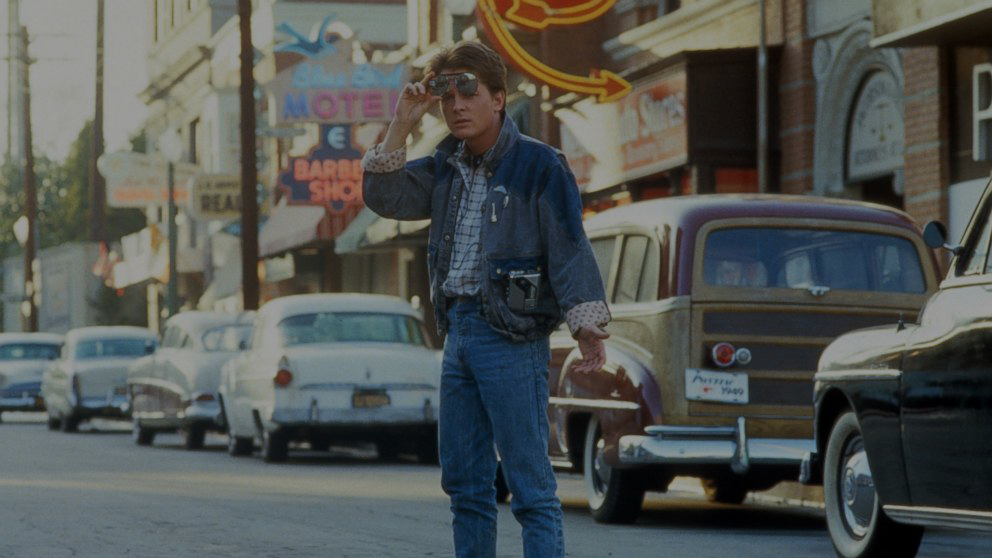
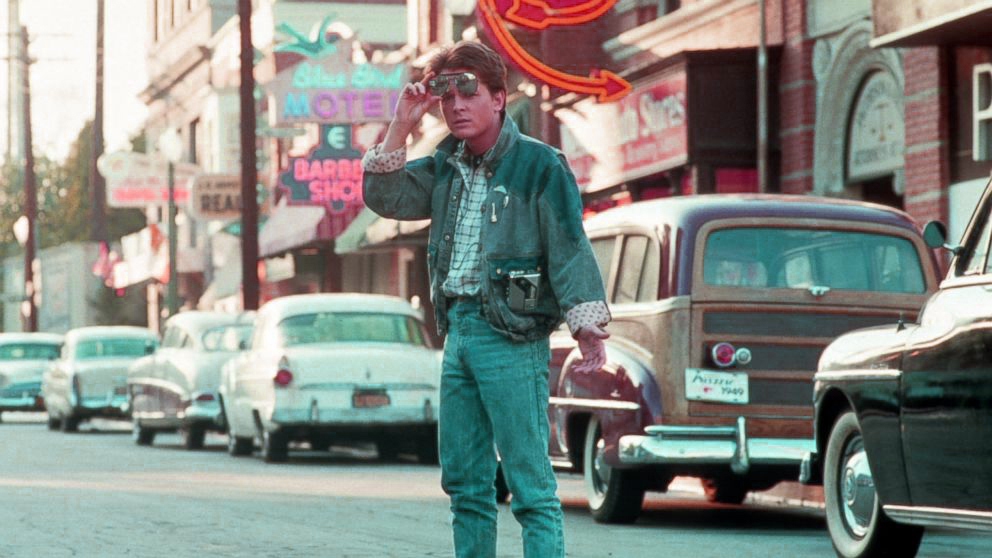
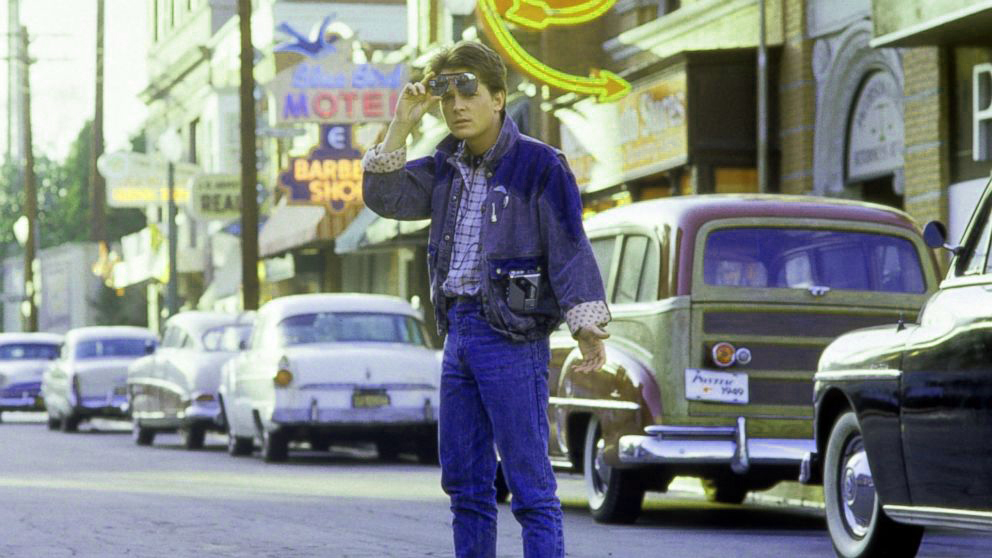
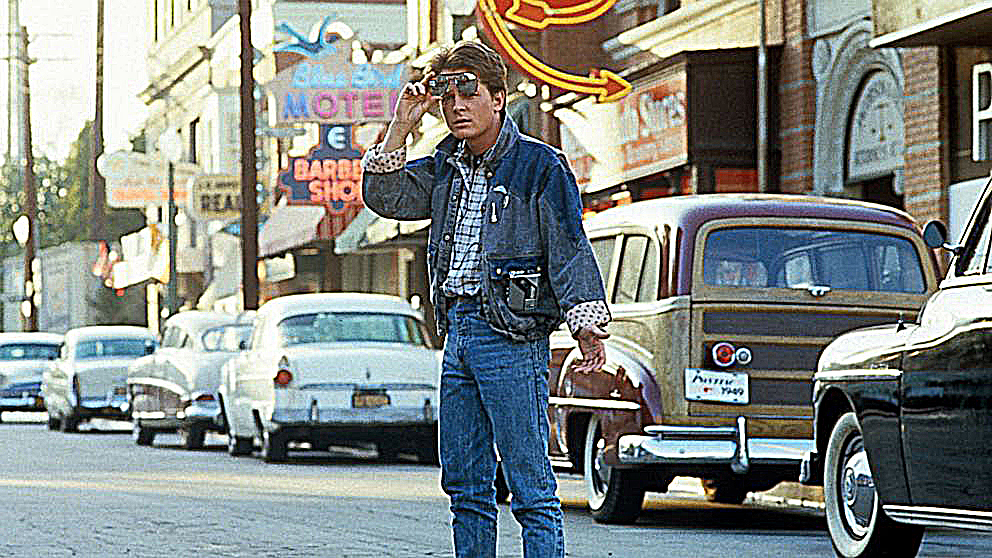
In the first pic the Brightness is high and the dark portions of the picture look washed-out. The second pic is adjusted properly. In the third pic the Brightness is low and the dark portions of the picture lack detail. The picture is from the movie Back to the Future.
Start with the Brightness control. This adjustment controls the brightness of the darker part of the picture. If the Brightness is turned down too much you will not be able to see most of the detail in the dark areas. If it is turned up too much, the dark parts of the picture will appear washed out and grey when they should be black. Adjust the Brightness so that the parts of the picture that should be black appear to be black, but the details in the dark areas of the picture that are not completely black are visible.
2. Adjust the Contrast
In the first pic the Contrast is high and the brighter portions of the picture lack detail. The second pic is adjusted properly. In the third pic the Contrast is low and the bright portions of the appear dull.
The Contrast adjustment controls the brightness of the lighter parts of the picture. If the Contrast is turned up too much you will lose most of the detail in the brighter areas of the picture. If it is turned down too much, the brightest parts of the picture will appear too dark. For an example, clouds in the sky will appear to be white blobs without any texture if the Contrast is too high. Adjust the Contrast so that the parts of the picture that should be white appear to be white, but the details in the brighter areas of the picture that are not completely white are visible.
After you adjust the Contrast, you may need to readjust the Brightness. You may need to go back and forth between the two settings a couple of times to get it just right.
3. Adjust the Color
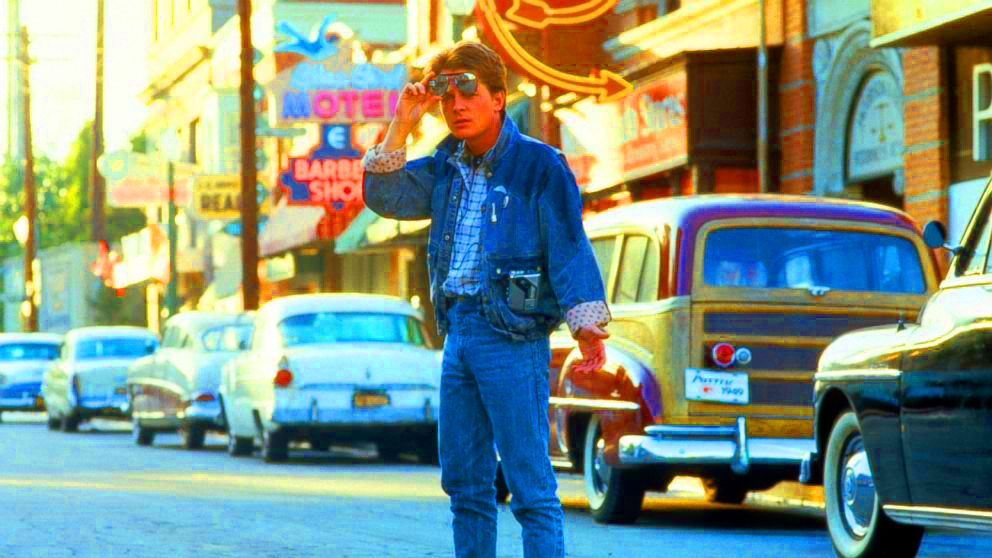

In the first pic the Color is high and the picture looks unnatural and cartoonsh. The second pic is adjusted properly. In the third pic the Color is low and the picture is unnatural and dull.
The Color setting adjusts the amount of color saturation in the picture. If the Color is turned up too much the picture will be too colorful and look unrealistic. If the Color is turned down too much, the picture will be drab and colorless. Adjust the Color so that the picture looks natural, not too colorful and not too colorless.
3. Adjust the Tint
In the first pic the skin tone Tint is too pink. The second pic is adjusted properly. In the third pic the skin tone Tint is too green.
Next, adjust the Tint. This adjustment hue of the colors. Focus on acheiving natural looking skin tones when making this adjustment. In one direction of the Tint control, skin tones will appear too pink or red, in the other direction skin tones will be too yellow, orange or green. Adjust the Tint until the skin tones are the right balance between pink and yellow.
After you adjust the Tint, you may need to readjust the Color. Too much or too little color will make it impossible to get a natural looking skin tone. You may need to go back and forth between the two settings a couple of times to get it just right. You may need to readjust the Brightness and Contrast a bit also.
4. Adjust the Sharpness
In the first pic the Sharpness is high and the picture appears unnatural and cartoonish. The second pic is adjusted properly. In the third pic the Sharpness is low and the picture seems blurry.
The Sharpness control adds a black edge to shapes in the image to make them appear crisper. When the Sharpness is set too high the picture will appear unnatural and cartoonish. When it is set too low the picture may seem blurry or out of focus. A litle bit of Sharpness goes a long way. I like to turn down the Sharpness as low as possible without the picture appearing blurry or out of focus.
![]() Back to Oranj Productions Home
Page
Back to Oranj Productions Home
Page
Contact Info
All content Copyright 1993-2016 Oranj Productions.
All Rights Reserved. Commercial use, public distribution or presentation allowed with written permission only.
 Back to More Content Magazine